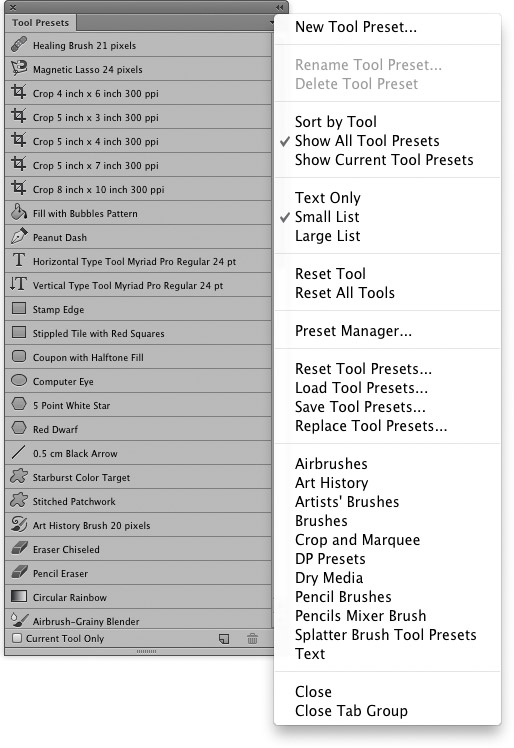
Tool Presets panelMany of the Photoshop tools will offer a range of possible tool settings. Tool presets allow you to store multiple saved tool settings, which can be accessed via the Options bar for an individual tool, or via the Tool Presets panel shown below in Figure 1.
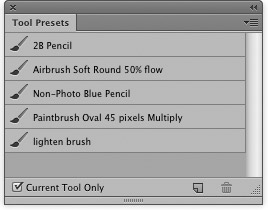
Figure 1 The Tool Presets panel is shown here displaying all the currently available tool presets. If you go to the panel options you can choose to display tool presets for the current tool only (or click on the 'Current Tool Only' option in the bottom left corner of the Tool Presets panel). With tool presets you can access any number of tool options very quickly and this can save you the bother of having to reconfigure the Options bar settings each time you use a particular tool. For example, you might find it useful to save crop tool settings for different image dimensions and pixel resolutions – you can then access these without having to reconfigure the Options bar each time. Likewise, you might like to store pre-configured brush preset settings, rather than have to keep adjusting the brush shape and attributes. To save a new tool preset, click on the New Preset button at the bottom of the Tool Presets panel. To delete a preset, just click on the Trash button. In Figure 1, the Show All Tool Presets option was selected, which meant that all the tool presets were displayed in the Tool Presets panel. This can be useful, because clicking on a preset simultaneously selects the tool and preset at the same time. However, most people will find the Tool Presets panel easier to manage when the 'Show Current Tool Only' option is selected. You can use the Tool Presets options to save or load preset settings. For example, if you create a set of custom presets, you can share these with other Photoshop users by choosing Save Tool Presets… and create a saved set of settings for a particular tool. Another thing that may not be immediately apparent is the fact that you can also use the Tool Presets to save type tool settings. This again is useful, because you can save the font type, font size, type attributes and font color settings all within a single tool preset. This feature can be really handy if you are working on a web or book design project. Brush tool presetsFor a specific example of where the Tool Presets feature is useful, when you have finished tweaking the Brush panel dynamics and other settings, you can use the Tool Presets panel to save a combination of the brush preset shape/size setting, the Brush panel attribute settings plus the brush blending mode (and brush color even) as a single brush tool preset. To do this, go to the Tool Presets panel and click on the New Preset button at the bottom (see Figure 2). Or, you can mouse-down on the Tool Preset picker in the Options panel and click on the New Brush setting button. Give the brush shape a name and click OK to append it to the current list. Once you have save a brush tool preset, you can access it at any time via the Tool Presets panel or the Tool Preset menu in the Options bar (when the brush tool is active).
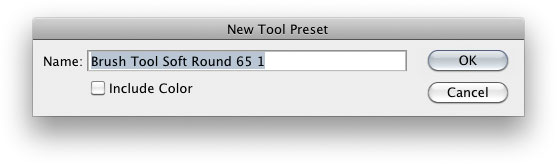
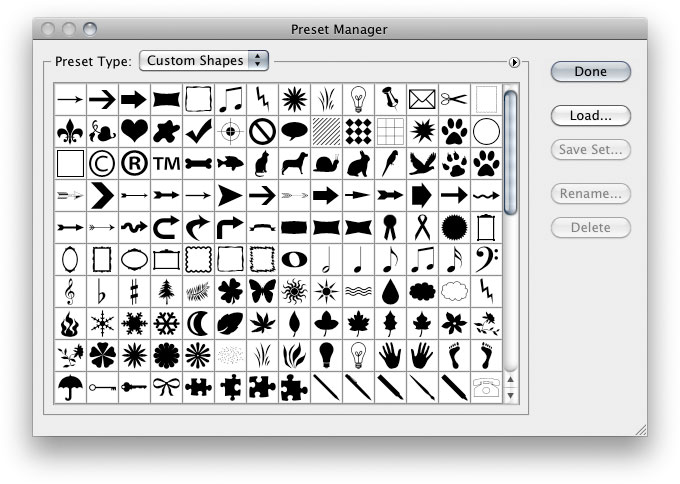
Figure 2 The Tool Presets panel showing the Tool Presets for the brush tool. If you click on the New Preset button, this opens the New Tool Preset dialog shown here. Preset ManagerThe Preset Manager can manage all your presets from within the one dialog. It keeps track of: brushes, swatches, gradients, styles, patterns, layer effect contours and custom shapes. Figure 3 shows how you can use the Preset Manager to edit a current set of Custom Shapes. You can append or replace an existing set (if the current set is not shown here but you know it has been saved, you can easily reload it via the Load… button).
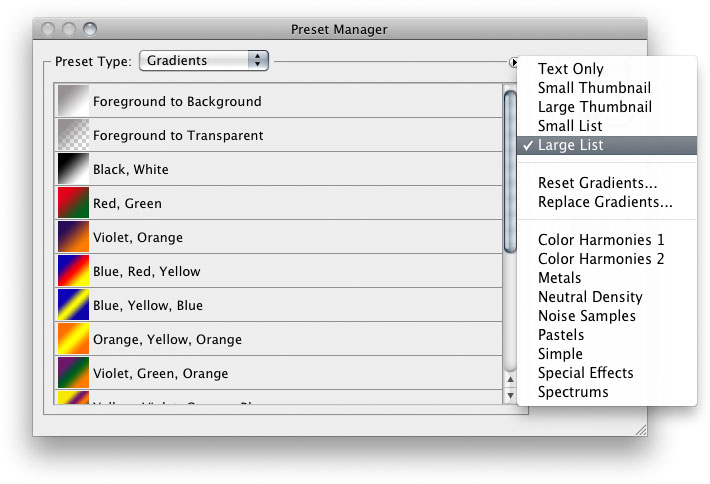
Figure 3 The Photoshop Preset Manager. The Preset Manager can be customized, which is particularly helpful if you wish to display the thumbnails of the gradients (see Figure 4). If you double-click any Photoshop setting that is outside of the Photoshop folder, it will automatically load the program and append the relevant preset group.
Figure 4 Apart from being able to load and replace presets, you are able to choose how the presets are displayed. In the case of Gradients, it is useful to be able to see a thumbnail preview plus the name of a gradient. |