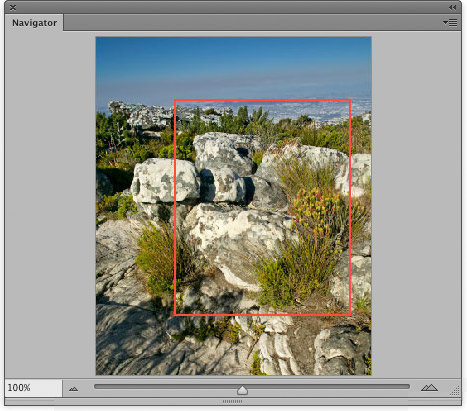
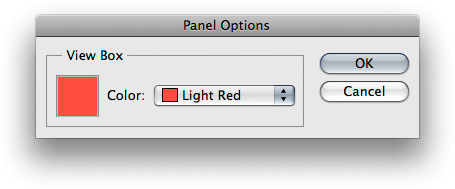
Navigator panelThe Navigator panel (Figure 1) is usually grouped with the Info, Character and Paragraph panels. The Navigator offers an easy and direct method of scrolling and zooming in and out of the image window. The panel window contains a small preview of the whole image and enables you to scroll very fast with a minimum of mouse movement by dragging the colored rectangle. This colored rectangle indicates the current view as seen in relation to the whole image. Other rectangle colors can be selected though via the panel fly-out menu options (Figure 2 shows the Panel Options).
Figure 1 The Navigator panel.
Figure 2 The Navigator panel options will allow you to choose a different color for the zoom outline in the panel. To operate the zoom, hold down the Command/Control key and drag the mouse to define an area to zoom to. Alternatively, using the slider control at the bottom, you can quickly zoom in and out or click on the 'little mountain' or 'big mountain' icons to adjust the magnification in increments. When you are zoomed in, clicking around the Navigator window will jump straight to that area at the same magnification, which is ideal for when checking focus in different parts of an image. You can also type in a specific zoom percentage in the bottom left corner up to two decimal places and hit 'Enter' to set the new zoom percentage. It is also possible to resize the panel by dragging the bottom of the panel window out. This means that you can make the Navigator panel as big as you like. Although not very practical on a single display, if you are using a dual display setup, it can make more sense to work with a big Navigator panel view. |