
Magic wand tool
|

 |
Figure 1 The magic wand tool Options bar.
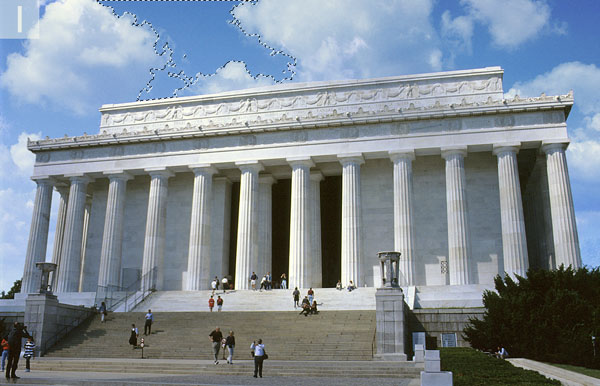 |
1 The magic wand tool can be used to create a selection of pixels which are similar in color to the point where you clicked. In this example I clicked in the blue sky area to select all the blue pixels surrounding the point where I clicked. Because the Contiguous option was switched on, the selection was limited to selecting neighboring pixels only. In other words, it only selected the pixels that were connected to each other.
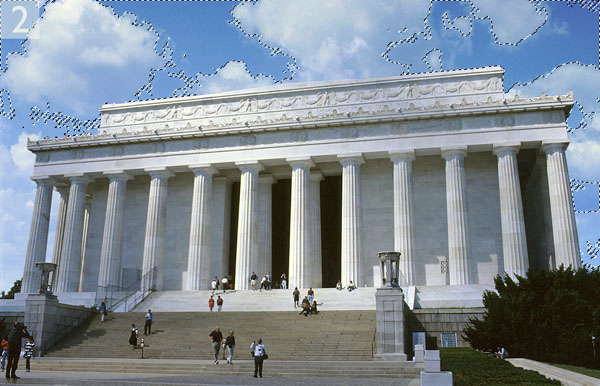 |
2 I then deselected the Contiguous option in the Options bar, the magic wand tool wasnow able to select blue pixels of similar tonal value that occured everywhere in the image. you will notice how the magic wand now selecteded blue sky areas in other parts of the image as well.
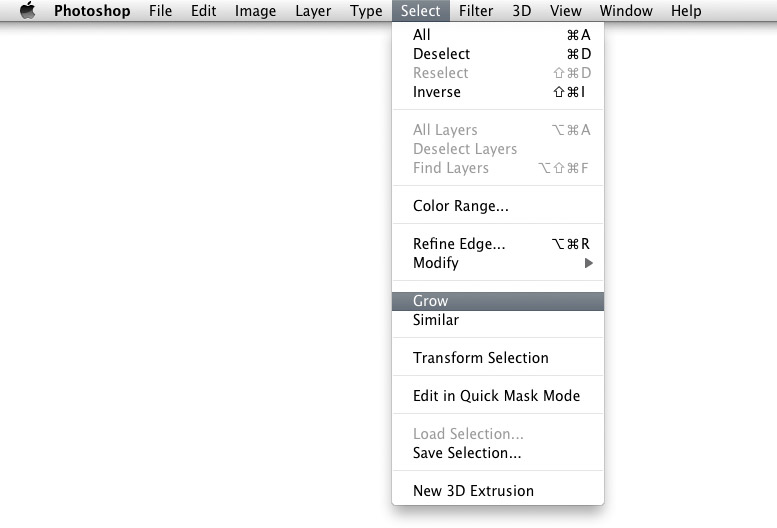 |
3 Once most of the desired blue pixels had been selected I used the Select  Grow command to expand the magic wand selection. Note that the Grow command will be based on the Tolerance value currently set in the Options bar for the magic wand tool.
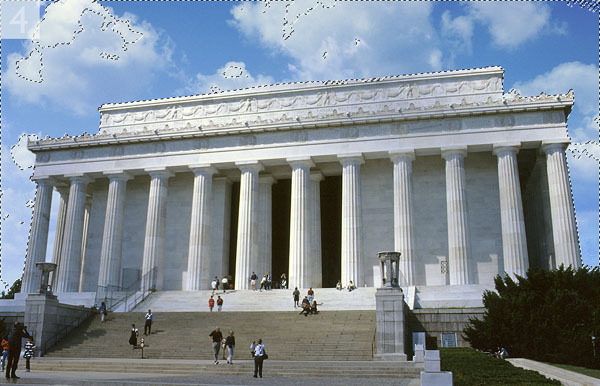 |
4 This shows a view of the image after applying the Select Grow command. Note how more of the sky has now been selected. I could keep growing the selection till all of the sky was selected