
The clone stamp tool
|
|||||||

 |
Figure 1 The clone stamp tool Options bar.
To work efficiently with the clone stamp tool I usually recommend that you keep the Aligned box checked. To use the clone stamp tool, hold down Option/Alt key and click to select a source point to clone from. Release the Option/Alt key and move the cursor over to the point that you wish to clone to, and click or drag with the mouse. If you have the tool set to aligned mode, this establishes a fixed relationship between the source and destination points. If the clone stamp is set to the non-aligned mode, the source point remains the same and the clone stamp will keep sampling from the same spot until you Option/Alt-click again to establish a new source point.
The clone stamp normally samples from a single layer only. However, the Use All Layers option permits the clone sample to be taken from merged layer pixel information, while the Current & Below option allows you to clone from all layers below the current target layer, ignoring any of the visible layers above.
The sample point can also be from a separate image or a separate layer within the same image. This can be useful for combining elements or textures from other pictures.
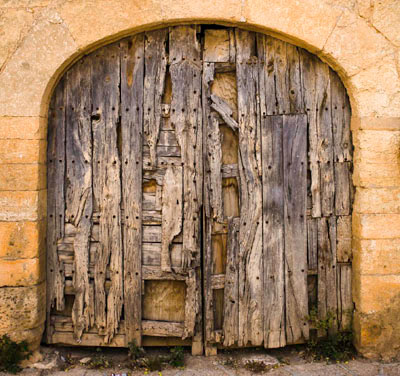 |
1 I mostly use the healing brush and clone stamp tools to retouch small blemishes or to remove sensor dust marks from photographs.
|
|
 |
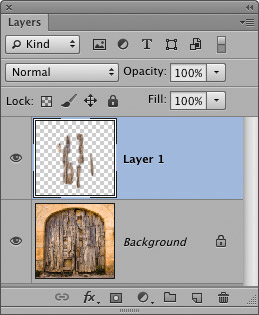 |
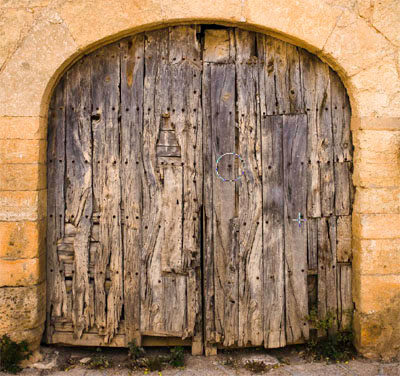
2 In this example I have shown how the clone stamp tool can be used to paint detail from one part of an image onto another. Note how the retouching was applied to an empty new layer and the Sample: ‘Current & Below’ layers option was selected in the clone stamp Options bar.