
Patch tool
|

 |
Figure 1 The patch tool Options bar.
 |
1 The patch tool works in a way that is similar to the healing brush. Using the picture here, I can show you how the patch tool can be used in Source mode to cover up the tattoo on this model’s body. When you select the patch tool you can use it just like the lasso tool to draw around the outline of the area you wish to ‘patch’, and loosely define a selection area. As was mentioned above, you can use any selection tool method you like to define the selection as you prepare an image for patching.
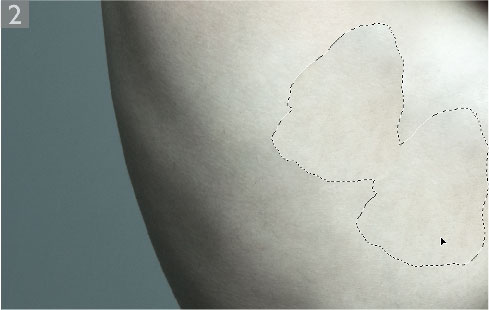 |
2 Having defined the area I wanted to patch, I made sure that the patch tool was now selected in the Tools panel and dragged inside the selection to locate an area of the image that could be used to ‘patch over’ the original area (i.e. remove the tattoo). As I dragged the patch selection this created a second selection area and I could see a live preview in the original patch selection, indicating which pixels would be cloned here.
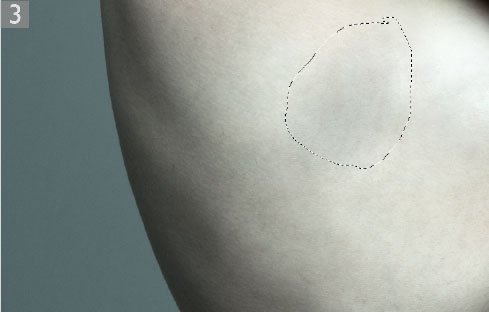 |
3 As I released the mouse, Photoshop began to calculate a healing blend, analyzing the pixels from the source area (that I had just defined) and used these to merge seamlessly with the pixels in the original selection area. The result of this patch transformation was pretty impressive, as it managed to remove the tattoo, but you’ll notice that a dark shadow remained in the middle of the patch area.
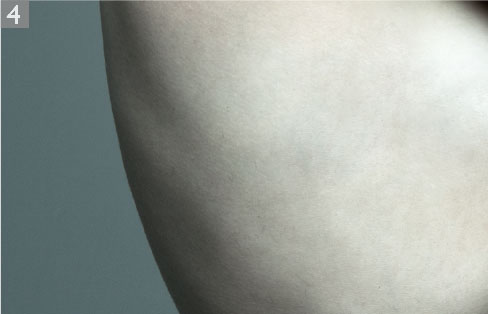 |
4 This is something to be expected and simply means that the patch tool action wasn’t completely successful at removing the tattoo in one single step. Remember, the original patch tool selection was still active and all I had to do was carry out a further patch tool action by repeating step 2. This screen shot shows what the model’s body looked like after applying the patch tool twice. As you can see, all traces of the tattoo are now gone.
The patch tool and content-aware filling
Photoshop CS5 saw the introduction of content-aware filling. This is where you can make a selection, choose Edit  Fill and fill using the Content-Aware fill mode (as shown below). Now in Photoshop CS6, there is also a Content-Aware mode when working with the patch tool. The following steps show a comparison between the use of the Edit Fill command and the patch tool in Content-Aware mode. Note that when the Sample All layers option is checked, you can apply a patch tool Content-Aware fill to an empty new layer.
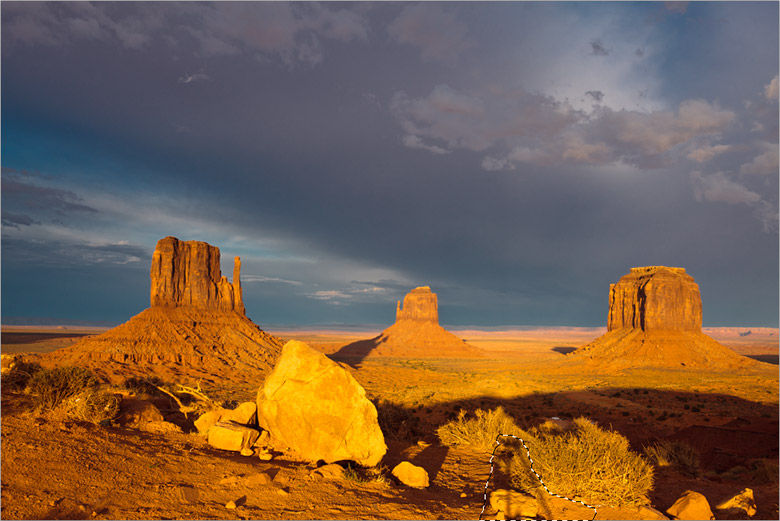
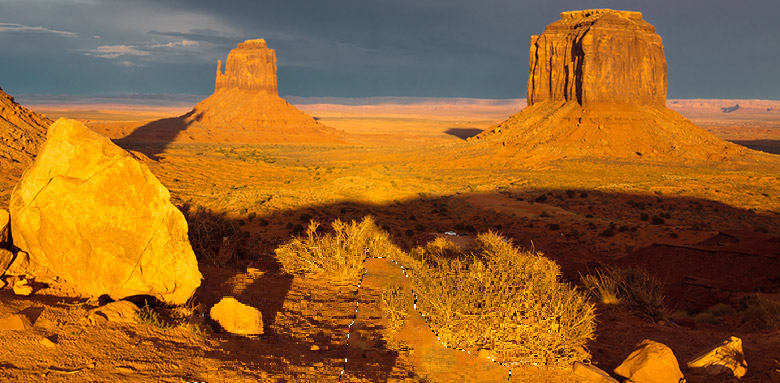
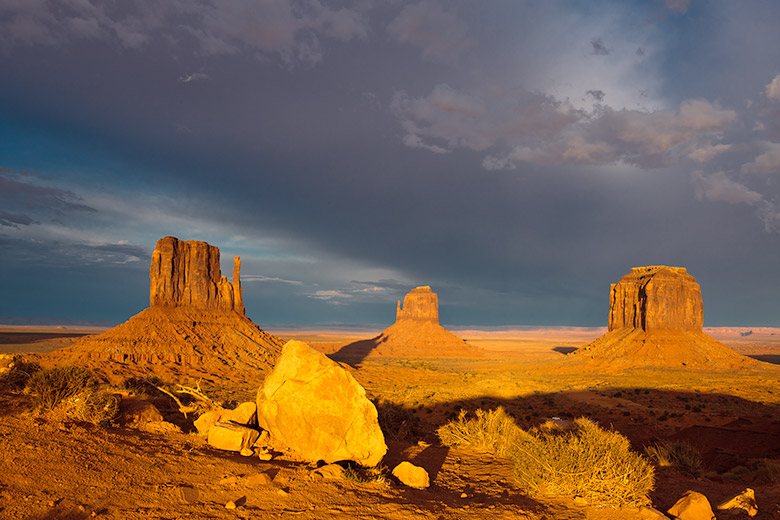
1 This photograph taken at sunset and you can see the shadow of the tripod and camera. To remove this from the image, I first made a rough lasso selection to define the outline of the shadow.
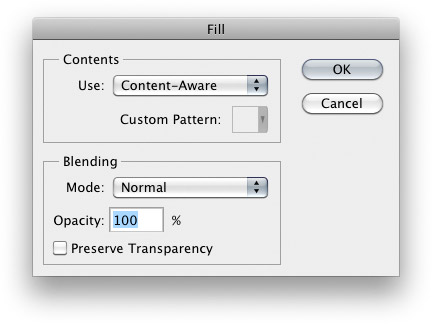
2 I then went to the Edit menu and chose Fill… (or, you may find it easier to use the Shift+F5 shortcut). This opened the Fill dialog shown here where I selected ‘Content-Aware’ from the pop-up menu in the Contents section. When I clicked OK, this filled the selected area.
3 Here you can see the result of the content-aware fill method.


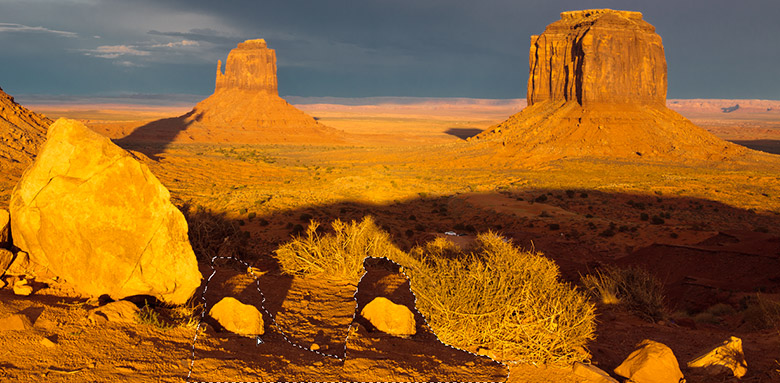
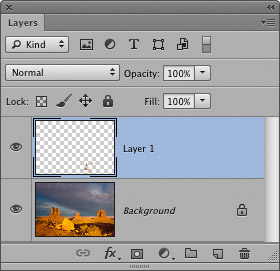
4 I undid the content-aware fill, selected the patch tool and in the patch tool Options bar chose the Content-Aware option. I added an empty new layer and with the ‘Sample All Layers’ option checked, dragged the selection to the left and released the mouse. With the selection still active, I was able to go through all the different options from the Adaptation menu, finally settling on the Very Loose option.

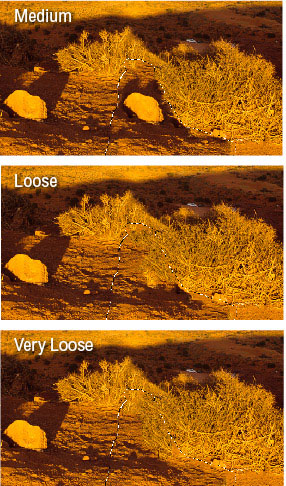
5 Here, you can see the result when choosing all the other different adaptation methods (including the Content-Aware Fill method).
6 Here is the final version with the shadow successfully removed.