Layer Styles
Layer styles are layer effects that can be applied to individual layers such as pixel layers, vector layers or type layers and also applied to layer groups as well. The order these appear in the Layer Style dialog has been altered in Photoshop CS6 or later (and again in Photoshop CC 2015), but the way these effects operate remains more or less the same. To use this page you can either scroll down the page or use the links above to go directly to any particular layer style section.
Bevel and Emboss
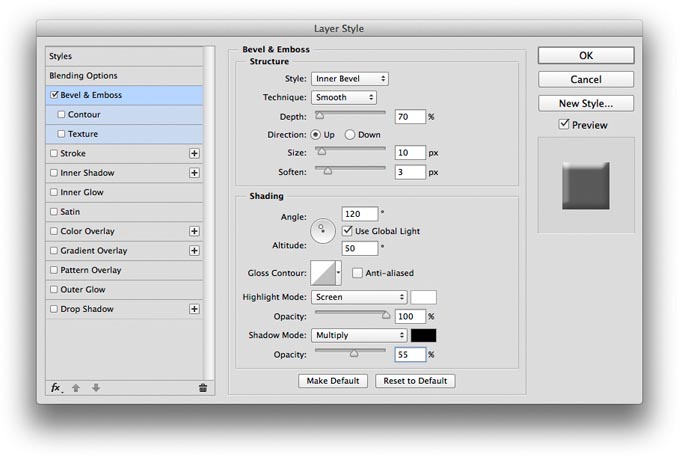
The Bevel and Emboss effect adds a highlight and a shadow edge 180 degrees apart from each other. When you adjust the height or angle settings of the light, the two move in sync, and this can be used to create an illusion of depth. Bevel and Emboss is often used to create contoured type and 3D web page buttons, but this layer effect can sometimes be used in photography to produce molten-looking effects.
Figure 1 The Bevel and Emboss Layer Style dialog.
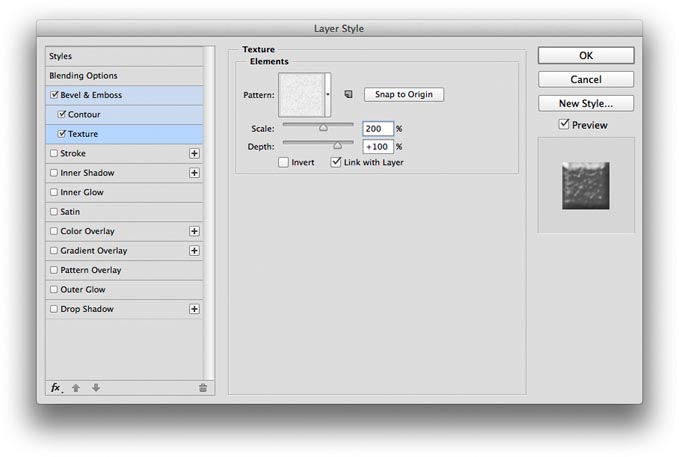
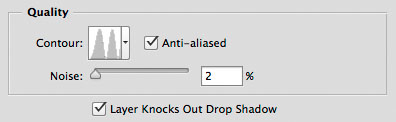
The Structure settings are used to establish the type of bevel and emboss you want to create, such as an outer bevel, an inner bevel, or pillow emboss, plus whether you want the bevel to use a smooth or hard chisel technique. The Shading options can then be used to enhance the bevel and emboss structure where you can adjust the lighting direction, the shadow and highlight properties. The Gloss Contour options (see: Layer Style Contours below) can be used to add some interesting metallic-looking effects to the surface of a beveled object. If you check the indented Contour option you can apply a separate contour to define the bevel edge and if you check the Texture option below that (Figure 2), you can add an embossed pattern texture to the surface.
Figure 2 The Contour and Texture options can be used to adjust the bevel contour shape or add an embossed texture to the surface of a beveled object.
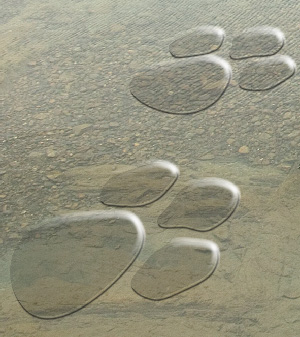
Figure 3 This example shows an image where I applied a Bevel and Emboss layer style to a shape layer using the settings shown in Figure 2, to which I also added a small amount of drop shadow.
Stroke
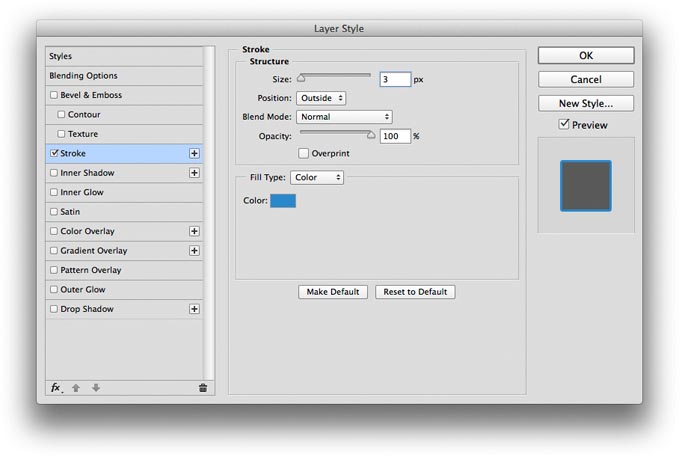
The Stroke effect (Figure 4) can be used to apply a stroke to the outline of the layer or text with either a color, a gradient or a pattern. The options in this dialog are similar to those in the Edit  Stroke command, except as with all layer styles, the stroke is scalable and will adapt to follow any edits or modifications made to the associated layer.
Figure 4 The Stroke Layer Style dialog.
Adding additional strokes
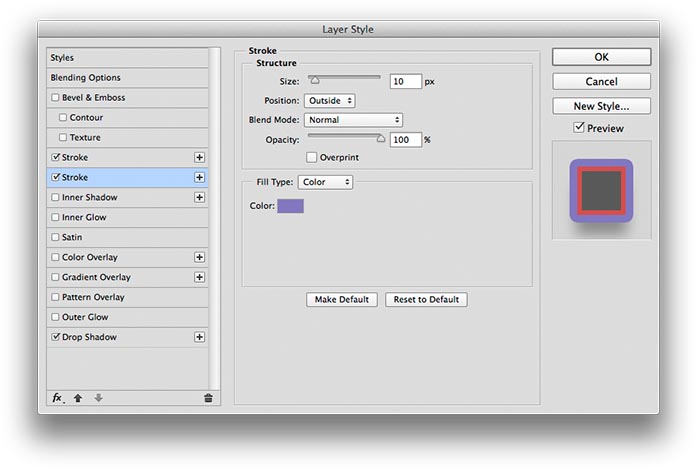
Since Photoshop CC 2015, it is possible to add multiple effects of the same kind within the Layer Style dialog. The following example shows what can happen when you add a second Stroke effect. To do this all you have to do is to click on the plus button next to the effect name. This implies that it is now possible to create a more varied range of effects using the Layer Style controls. Examples of what can be done are show in the following screen shots.
Figure 5 The Stroke Layer Style dialog showing two Stroke effects being added to a layer, where one stroke is applied to the inside and another is added to the outside to produce the result shown in the preview area as well as in Figure 6 below.
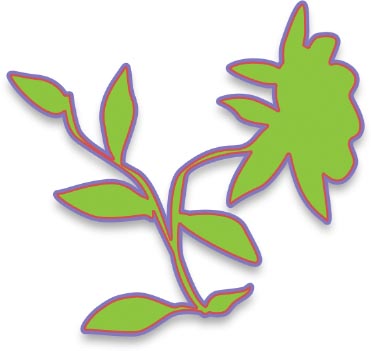
Figure 6 This shows the result of using the layer style settings shown in Figure 5.
Layer Style menu options
The Layer Style menu options are accessible from the bottom left section of the Layer Style dialog. You can use this to manage the Layer Style effects and select additional layer effects from the drop-down menu. You can also choose to duplicate or delete an effect or effects. The arrows next to this allow you to move additional effects up or down to change the order in which they are applied. The trash icon can be used to remove effects from the list. If you remove too many you can choose Reset to Devault List from the drop-down menu.
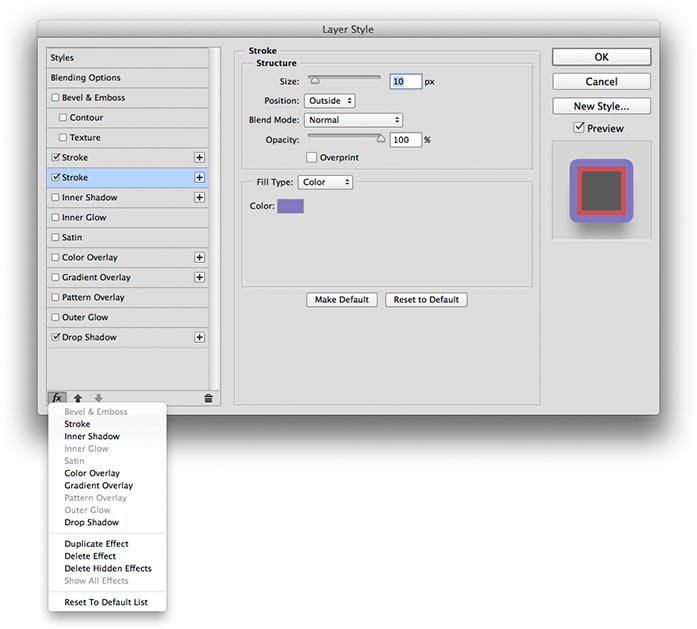
Figure 7 The Layer Style menu options.
Inner Shadow
The Inner Shadow controls (Figure 8) are more or less identical to the Drop Shadow effect. The only difference being that this particular effect applies a shadow within the layered type or object area. The result may appear to be either that of a recessed shadow or will give a convex 3D appearance to the layer object. It all depends on the angle you choose and the size and distance of the shadow.
Figure 8 The Inner Shadow Layer Style dialog.
Adding additional Inner Shadow effects
As with the Stroke effects, you can add multiple Inner Shadow effects. In the screen shots shown below you can see how two Inner Shadow effects could be applied where one produces a crisp inner shadow and the other a soft shadow. These combine to produce a richer, more natural-looking shadow.
Figure 9 The Inner Shadow Layer Style dialog, where two Inner Shadow effects have been added.

Figure 10 This shows the result of using the layer style settings shown in Figure 9.
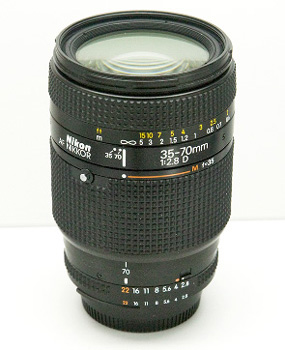
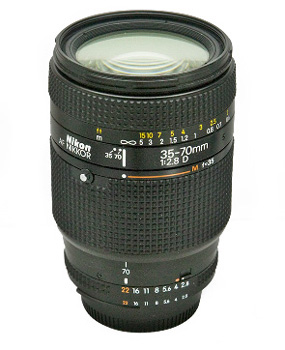
Figure 11 Here is an example of a still life product shot that was taken in a hurry against a simple white card background. As you can see, there is some spill light that's caused some flare around the edges of the subject. I made an outline selection of the lens and copied it to its own layer and then applied the Inner Shadow settings shown in Figure 5 (which used a distance of 30 pixels). This layer style was able to successfully counteract the lightness around the edges.
Inner Glow
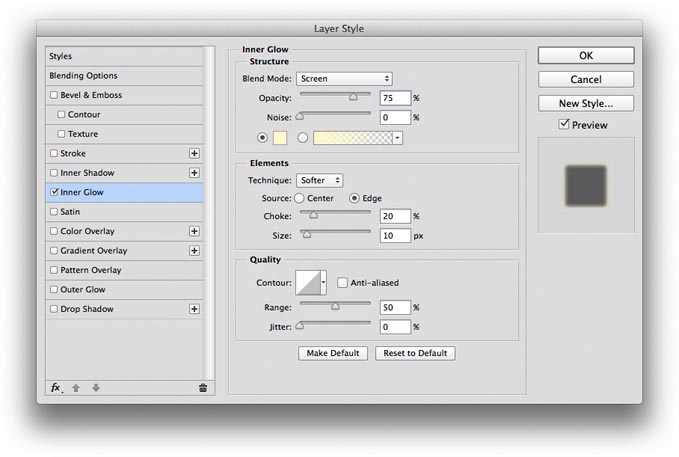
The Inner Glow contains options for edge and center glows, using the Screen blending mode (Figure 12). Used in conjunction with the Inner Shadow, you can achieve a smooth 3D 'contoured' appearance with the centered Inner Glow setting. The glow layer effect can apply either a solid or a gradient-based glow.
Figure 12 The Inner Glow Layer Style dialog.
Satin
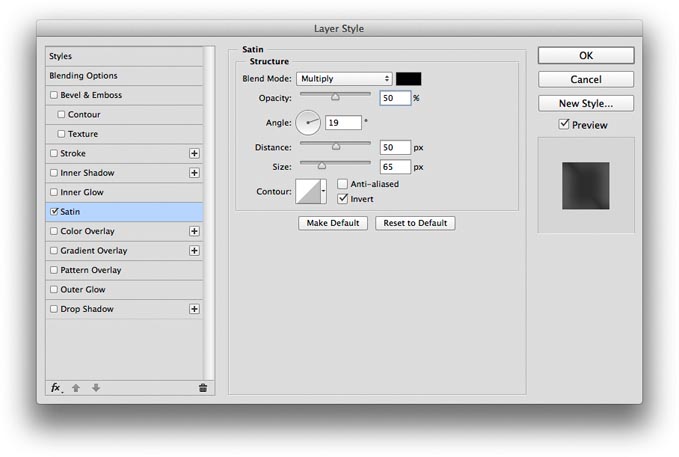
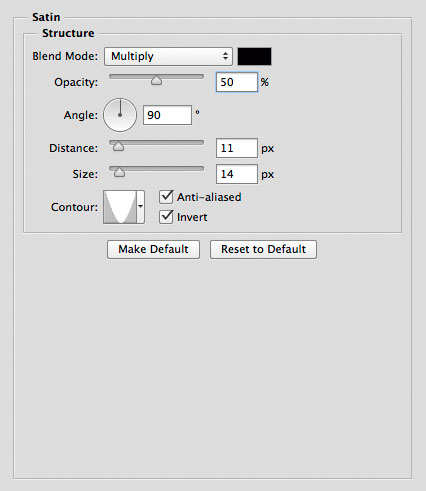
The Satin layer effect (Figure 13) can be used to add a satin type finish to the surface of the layer or type. You will want to adjust the distance and size to suit the pixel area of the image layer that you are applying the effect to.
Figure 13 The Satin Layer Style dialog.
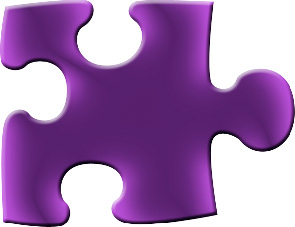
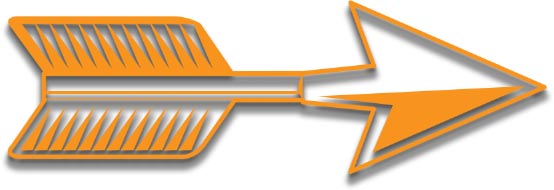
Figure 14 Here is an example of a layer style which combines the Bevel and Emboss and Satin layer effects, using the settings shown in Figure 13.
Color Overlay
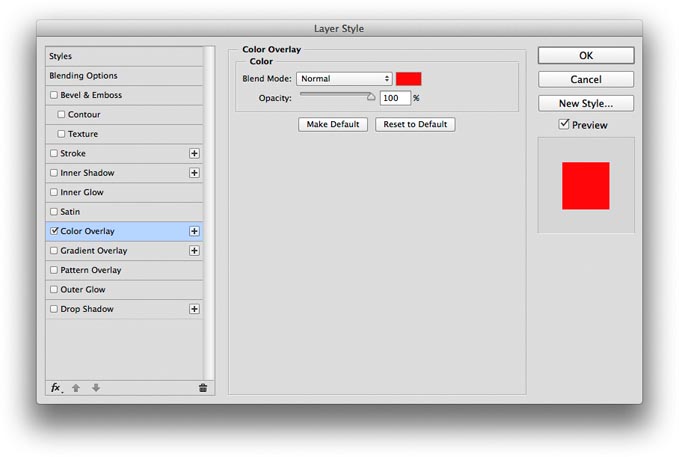
This Layer effect will add a color fill overlay to the layer contents. All you need to do here is select a color, vary the opacity and set the Blend mode and blend opacity. Here too you can have multiple Color Overlay layer effects. Bear in mind that the uppermost layer supercedes the one below. What you can do however, is to have multiple layers and adjust the opacity of each, or adjust the blend mode to blend the color overlay effects and fine-tune the desired color.
Figure 15 The Color Overlay Layer Style dialog.
Gradient Overlay
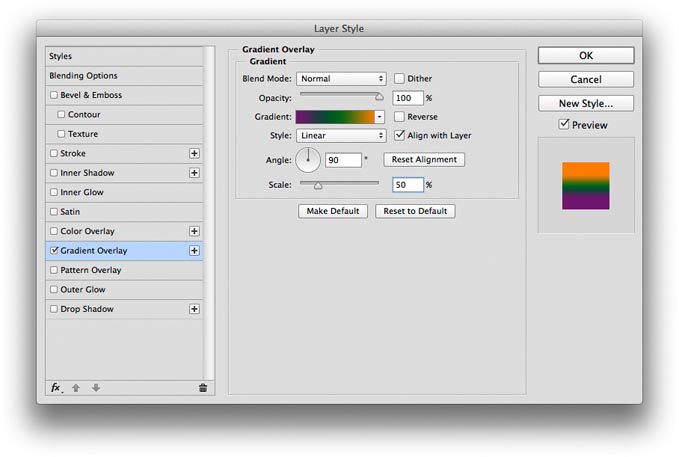
You can use the Blend modes and Opacity slider in the Gradient Overlay style (Figure 11) to create subtle combinations of gradient coloring. The Align with Layer option center aligns the gradient to the middle of the layer, although you can drag with the cursor in the image window to move the gradient. The Scale slider can be used to enlarge or shrink the spread of the gradient.
Figure 16 The Gradient Overlay Layer Style dialog.
Adding additional Gradient Overlay effects
You can use the plus button to add extra Gradient Overlay effects. An exampled of this is shown in Figure 17 below and the outcome of a dual Gradient Overlay effect is shown in Figure 18.
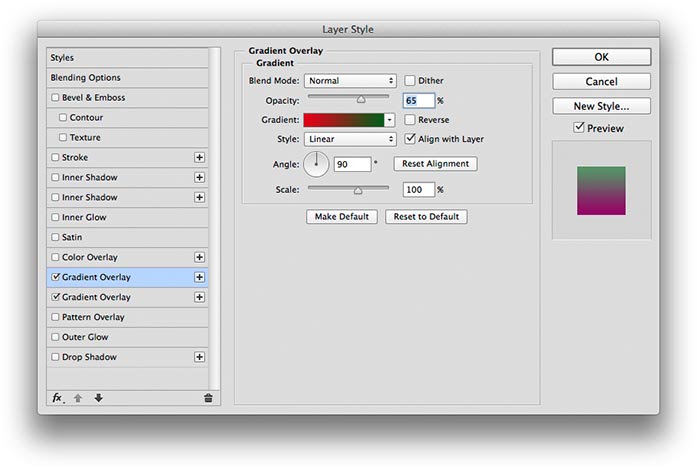
Figure 17 The Gradient Overlay Layer Style dialog with two gradient overlay effects in use.

Figure 18 This shows the ourcome of applying a red/green gradient overlay with a blue-white gradient overlay.
Pattern Overlay
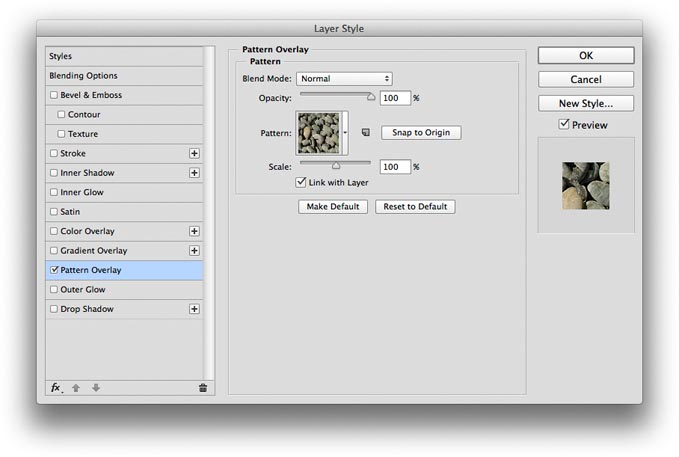
To add a Pattern Overlay style you'll need to select a saved pattern from the presets (see Figure 19). The Opacity and Scale sliders can be used to modify the appearance of the overlay pattern, while the Link with Layer option will lock the pattern relative to the layer object.
Figure 19 The Pattern Overlay Layer Style dialog.
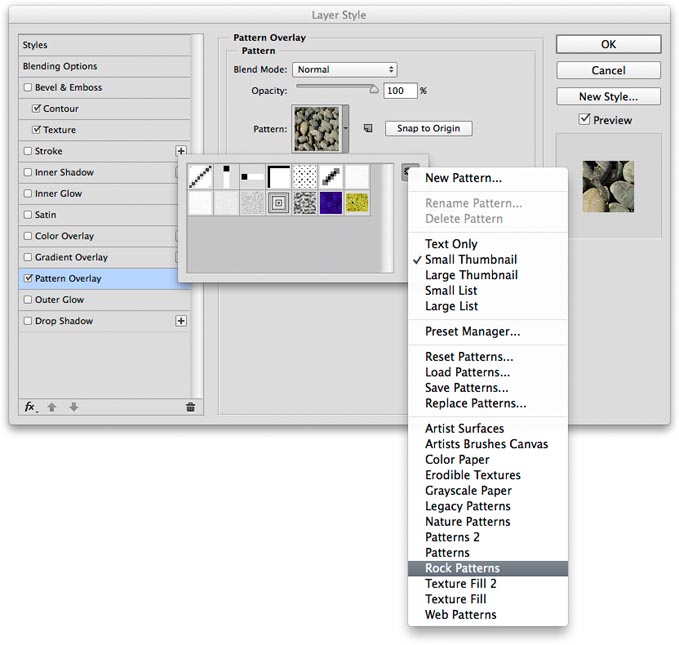
Figure 20 Here is an image that was created using a Photoshop Pattern preset called 'Stones' which can be found in the Rock Patterns collection (see Figure 21).
Figure 21 The Rock Patterns collection is one of several Pattern presets that you can are included in the default installation of Photoshop. You just need to go to the Pattern presets menu and highlight a collection name to append or replace the current selection of Patterns.
Outer Glow
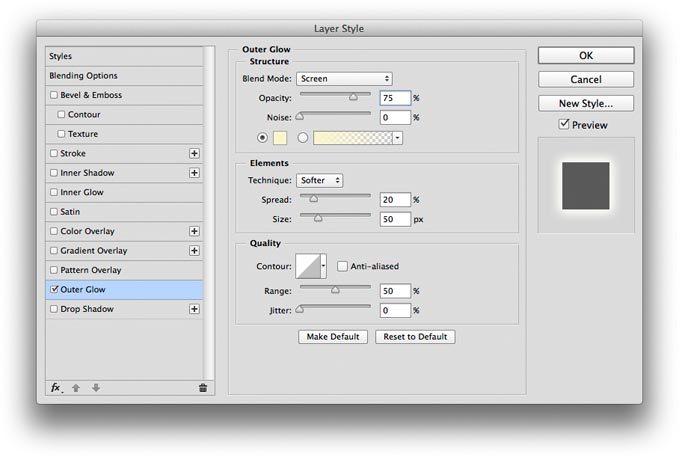
The Outer Glow style (Figure 22) is also much like the Drop Shadow, but defaults to the Screen blending mode, and the effect spreads out evenly from the center. The glow layer effects can be used to apply either a solid or a gradient-based glow effect.
Figure 22 The Outer Glow Layer Style dialog.
Drop Shadow
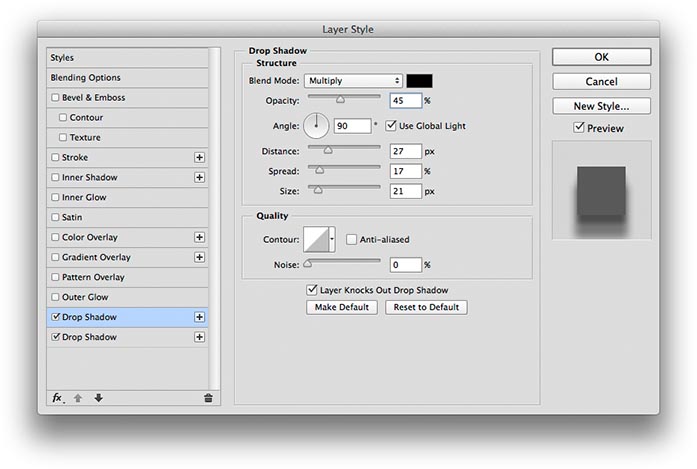
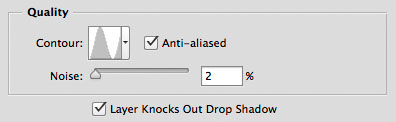
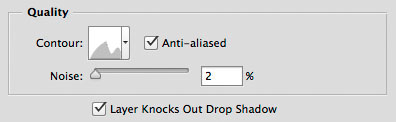
The Drop Shadow style (Figure 23) uses the Multiply blending mode to create an offset shadow behind the layer object. The default color is set to black using Multiply blend mode at 75%. However, you can change this so the shadow effect uses some other blend mode and you can alter the opacity to produce a stronger or lighter shadow. Below this is the angle setting where you can either enter a numeric value or use the rotary control to manually set the shadow angle. The Use Global Angle comes into play when you want to link the angle set here with those used in other layer effect settings such as the Inner Shadow or Bevel and Emboss layer effects (and that of any other Layer Styles layers). Deselect this option if you want to set the angles independently. Below this are the main shadow effect controls. The Distance slider determines the number of pixels the drop shadow will be offset by. The Size slider sets the pixel size increase of the shadow and the Spread slider should be used to control the softness of the shadow. At 100%, the shadow will have a harsh edge and at 0% will be at its softest. The Contour shape determines how the shadow fades out (the linear contour is the best choice most the time when creating shadows).
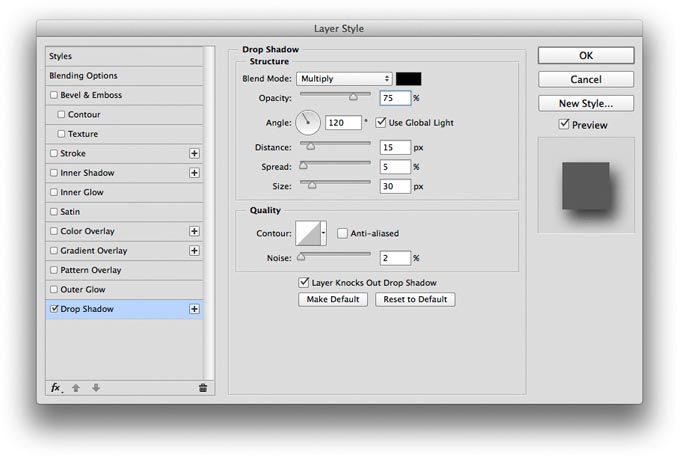 |
Figure 23 Drop Shadow Layer Style dialog.
The Layer Style contours in Photoshop will affect the shape of the shadows and glows for the Drop Shadow, Inner Shadow, Outer Glow and Inner Glow layer effects. The examples below in Figure 26 show the results of applying different contours and how this will affect the outcomes of these various layer effects. The Bevel and Emboss and the Satin layer styles are handled slightly differently. In these cases, the contour will affect the surface texture appearance of the layer style. The Bevel and Emboss dialog refers to this type of contour as being a Gloss Contour and you can generate some interesting metallic textures by selecting different contour shapes. The Bevel and Emboss edge itself can be modified with a separate contour (see the Bevel and Emboss Layer Style).
Figure 26 Here is a Layer style applied to a filled shape layer. The silky texture can be attributed to the use of an inverted cone contour combined with the Satin layer style.
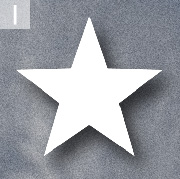
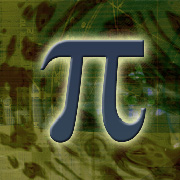
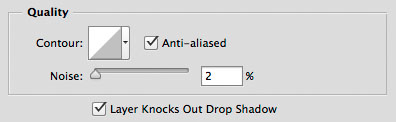
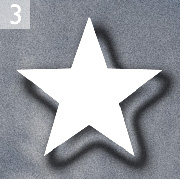
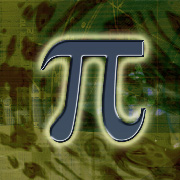
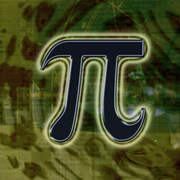
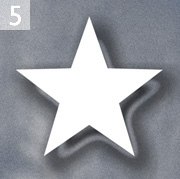
Figure 27 In all these examples (from Figure 27 through to Figure 31) you can see the outcome of applying different contours in the Layer Style settings. Here, a Drop Shadow layer style was added to the Star shape and Bevel and Emboss and Outer Glow layer styles were applied to the pi shape. Shown here is the linear contour, which is the default contour option.
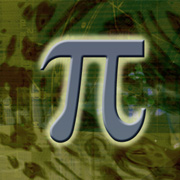
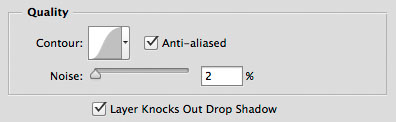
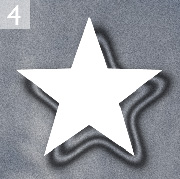
Figure 28 The Gaussian curve contour accentuates the contrast of the layer style edges by making the shadows and glows fall off more steeply.
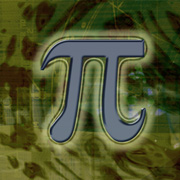
Figure 29 The single ring contour can produce a subtle bevel type shadow when applied with a slight displacement. The Outer Glow was made with the Range set to 100%.
Figure 30 The double ring shape produces a more graphic type of layer effect. As can be seen here, the shadows look like contoured neon lights and the Bevel and Emboss resembles a chrome type effect (the Outer Glow Range was set to 70%).
Figure 31 Clicking on the contour shape icon will open the Contour Editor dialog (shown in Figure 32). You can use this to edit and save new custom contour shapes.
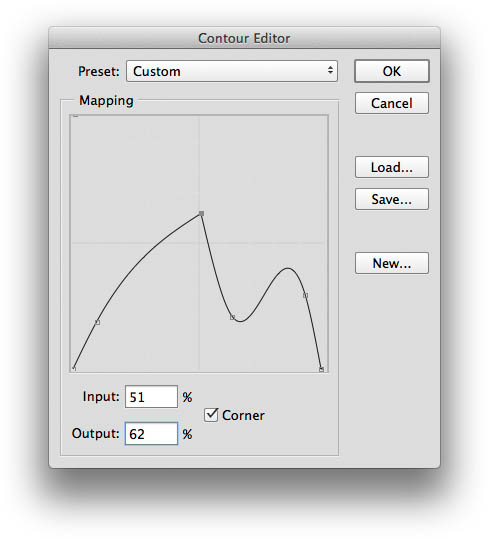
Figure 32 This shows the Contour Editor dialog. You can use this to create your own customized contour and save these as new contours that can be added to your current set of contours. Check the Corner box if you want to make a point into an angled corner (such as the contour curve point highlighted here).
Saving Layer Styles
If there is a chance you may wish to reuse a combination of Layer Style settings again in the future, it is well worth saving custom layer style settings as a reloadable Layer Style. Just follow the steps shown below.
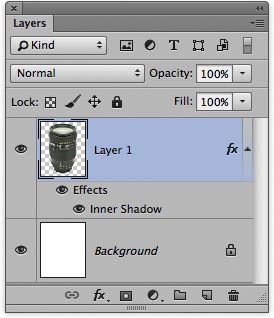
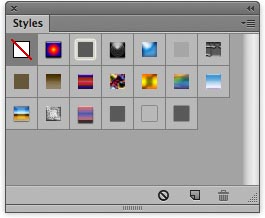
Figure 33 When you have found an effect setting or a combination of settings which you would like to keep, you can save these as a style. First make sure that the layer style you wish to save is active by checking it is highlighted in the Layers panel. Then go to the Styles panel shown here and click in the empty area. Or, you can click on the New Style button at the bottom of the Layer Style dialog. Either action can be used to save the current layer style combination as a new style.
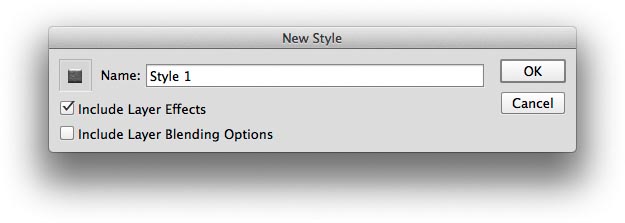
Figure 34 Next you will be shown the New Style dialog where you can give the Style a name and the new Style will be appended in the
Styles panel.
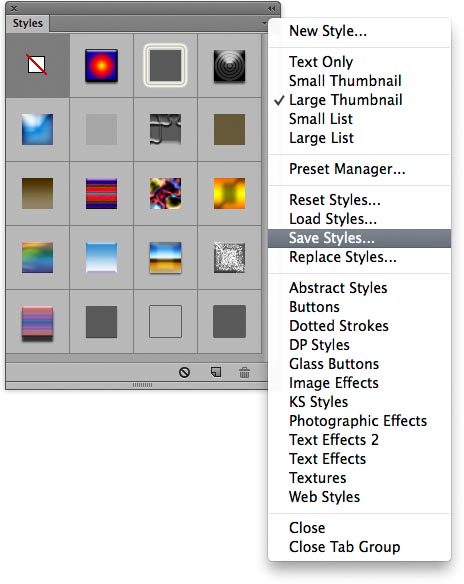
Figure 35 There are many preset styles that you can load in Photoshop. The Styles panel shown here is using the Large Thumbnail view setting. To permanently save the styles you have currently loaded in this panel, go to the fly-out menu and select Save Styles… To remove a style, Option/Alt-click on a style in the Styles panel.