
Burn tool
|

 |
Figure 1 The burn tool Options bar.
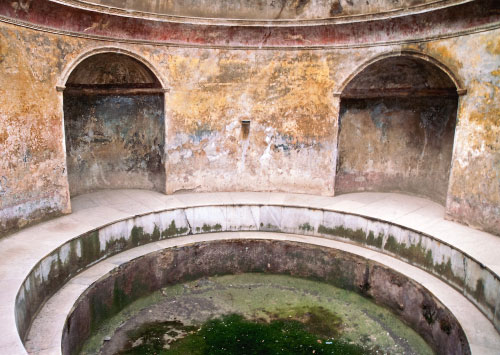
Figure 2 This shows a before version of an image.
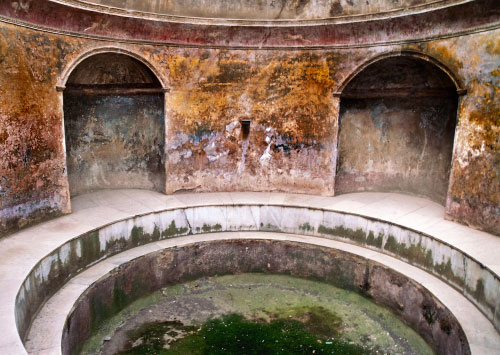
Figure 3 This shows the before image where the walls have been burnt in using the Photoshop CS3 burn tool.
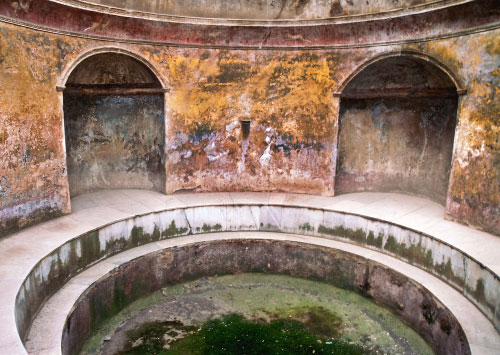
Figure 4 This shows the before image where the walls have been burnt in using the burn tool with the Protect Tones option selected.
Adjustment layer dodging
If your goal is to dodge or burn a large area of a picture such as a sky or someone’s face, then the best way to go about doing this is to add a Levels or Curves adjustment layer to lighten or darken the entire image, fill the layer using black to hide the layer contents and then paint with white on the adjustment layer mask using a soft edged brush. Filling with black will hide the adjustment layer effect and painting with white will allow you to selectively reveal the adjustment layer effect and as with all other layers, you have a layer opacity slider that will allow you to fade the overall layer opacity. The other option you have in Photoshop CS4 or later, is to use the adjustment brush and gradient filter tools in Camera Raw. This too offers a truly non-destructive approach to localized dodging and burning.
If you are going to use the dodge or burn tools, I would still maintain that they are probably more appropriate for localized retouching of small areas of a picture on a copied layer.
One of the things that is also useful about the dodge and burn tools is that you can choose to apply the toning effect selectively to either the Highlights, Midtones or Shadows. Therefore if you want to lighten or burn some midtone detail in an image without affecting the adjacent highlights or shadows, you can choose to use the burn tool in Midtones mode (See Figure 1).